English
 中文简体
中文简体 русский
 عربى
عربى
A buried PVC sewer line that fails in its second year rarely fails through the pipe wall. It fails at a solvent-cemented socket that was assembled in the rain, at bedding that left the barrel resting on a single rock, or at a backfill that was pushed in with one pass of a machine bucket instead of compacted in lifts.
PVC pipe installation is a joint-and-bedding problem, not a pipe problem. The same PVC-U pipe, jointed and bedded correctly, will serve for decades; installed carelessly, it will weep at the first pressure test. What follows is the sequence that matters, the numbers that actually get checked on site, and the mistakes that keep repeating.
The short version, before the detail:
- Cut square, bevel, deburr, dry-fit and mark insertion depth before any cement is opened.
- Prime both surfaces, cement both surfaces, assemble with a quarter turn, hold for 30 seconds, wipe the bead.
- Respect the cure schedule before pressure testing. Glue that is still soft will weep under test pressure.
- Bed the pipe with uniform support along the barrel, then compact backfill in lifts.
- Test at 1.5 times the working pressure and record it. Gravity lines get a deflection check, not just a leak check.
Content
- 1 The five stages that decide whether the line holds
- 2 Choosing the pipe before the first cut
- 3 Cutting, beveling and dry fitting
- 4 Solvent cementing, step by step
- 5 Trench, bedding and backfill
- 6 Above-ground runs: expansion, support and UV
- 7 Testing and handover
- 8 The mistakes that cost the most
- 9 Frequently asked questions about PVC pipe installation
The five stages that decide whether the line holds
Every PVC installation, from a 32 mm garden line to a 630 mm trunk main, moves through the same five stages. Skipping one simply shifts the risk downstream, where it becomes more expensive.
- Specification — material grade, SDR or PN class, and temperature derating for the actual service.
- Preparation — square cutting, beveling, dry fitting and marking insertion depth.
- Jointing — solvent cementing or gasketed push-fit, executed to a fixed written procedure.
- Burial — trench width, bedding, haunching and backfill compacted in controlled lifts.
- Verification — hydrostatic or deflection testing, recorded and signed off.
Three published practices cover most of the detail: ASTM D2855 for making solvent-cemented joints, ASTM D2321 for underground gravity-flow thermoplastic pipe, and ASTM D2774 for buried pressure piping. Where a project specification is stricter than these, the specification wins.
Choosing the pipe before the first cut
PVC-U is the default for drainage, sewer and cold-water service. It is the least expensive of the common thermoplastics and has strong chemical resistance, but it turns brittle at low temperatures and it is not a hot-water material.
Two variants change the picture. PVC-M is impact-modified, which makes it far more forgiving of rough winter handling and rocky trench conditions. PVC-O is molecularly oriented, delivering a higher pressure class at a lower wall thickness and lower weight for the same duty.
Pressure ratings also move with temperature. A pipe rated PN16 at 23 degrees Celsius loses roughly 20 percent of that capacity by 30 degrees Celsius, and considerably more above 40 degrees Celsius. These are typical derating factors published in manufacturer technical handbooks. Before the material list is frozen, the practical PVC pipe selection and installation tips used by our engineers are worth a read.
Two rules hold regardless of grade: PVC is not for compressed air, and it is not for continuous hot water service.
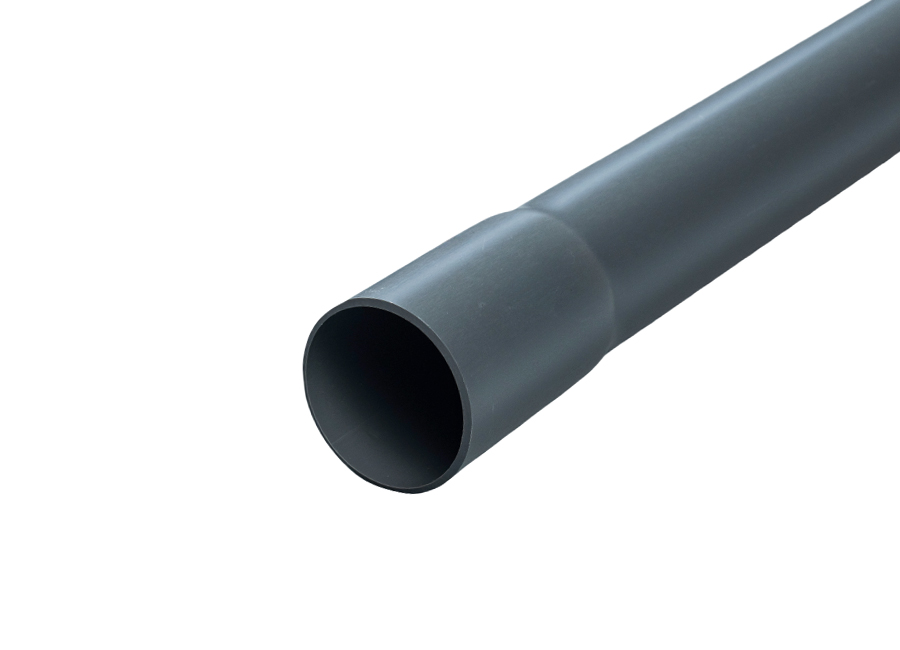 PVC-U Pipe for Water Supply and DrainageReview standard PVC-U pipe options and pressure ratings before deciding whether an impact-modified grade is needed.View Product →
Cutting, beveling and dry fitting
- Cut square. A mitre saw or a wheel-type plastic pipe cutter produces a square end; a hacksaw rarely does. More than 1 to 2 mm of out-of-square across the diameter starves one side of the joint.
- Deburr and bevel. Clean both ends inside and out, then put a 10 to 15 degree bevel on the outside edge so the pipe slides into the socket instead of scraping cement off the wall.
- Mark the depth. Pencil a line on the pipe at the full socket depth so you can see the joint bottom out during assembly.
- Dry fit every joint. A correct interference fit lets the pipe enter about one third to two thirds of the socket by hand. If it drops freely to the shoulder, the joint will not hold under pressure.
- Work above 5 degrees Celsius. Below that, PVC becomes brittle, cement cures unreliably and impact damage during handling rises sharply.
Where a line will be installed in winter or in ground containing sharp aggregate, an impact-modified grade is usually the cheaper decision overall, because it removes the cracked-pipe repairs that appear months later.
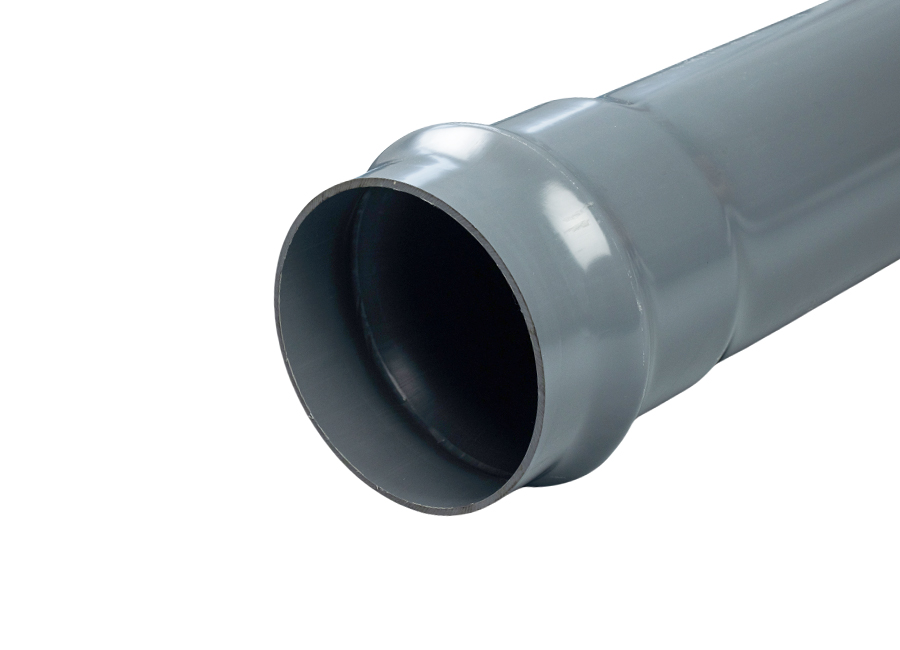 PVC-M Modified Pipe for Water Supply and DrainageModified PVC pipe with improved impact resistance and flexibility, suited to water supply, irrigation, cable protection and drainage in cold or abrasive-ground conditions.View Product →
Solvent cementing, step by step
- Prime. Wipe the socket and spigot, then apply primer to both surfaces. Primer softens the surface so the cement can fuse into it rather than sit on top of it.
- Apply cement. A full, even coat inside the socket and a slightly heavier coat on the pipe end. Both surfaces, every time.
- Assemble. Push straight to the depth mark without twisting, then rotate about a quarter turn to spread the cement evenly. Hold for 30 seconds and do not let the pipe back out.
- Wipe the bead. A continuous fillet of cement should be visible around the joint. A joint with no bead at all is usually a starved joint and will leak.
- Leave it alone. Do not twist, adjust or load the joint until the cure schedule permits it.
| Pipe size (inch) | Minimum handling time | Minimum time before pressure testing |
|---|---|---|
| 1/2 to 1 1/4 | 15 minutes | 2 hours |
| 1 1/2 to 2 | 30 minutes | 6 hours |
| 2 1/2 to 4 | 45 to 60 minutes | 12 to 24 hours |
| 6 to 8 | 1.5 to 2 hours | 24 to 48 hours |
Two conditions ruin this schedule. Cement applied in direct sun at 40 degrees Celsius skins over before the pipe is fully inserted, and cement applied below 5 degrees Celsius may never develop full strength. In both cases, change the working window rather than the procedure.
The joint is also only as good as the fitting it is made into. A coupling with an out-of-round socket or a rough bore will leak no matter how carefully the cement is applied.
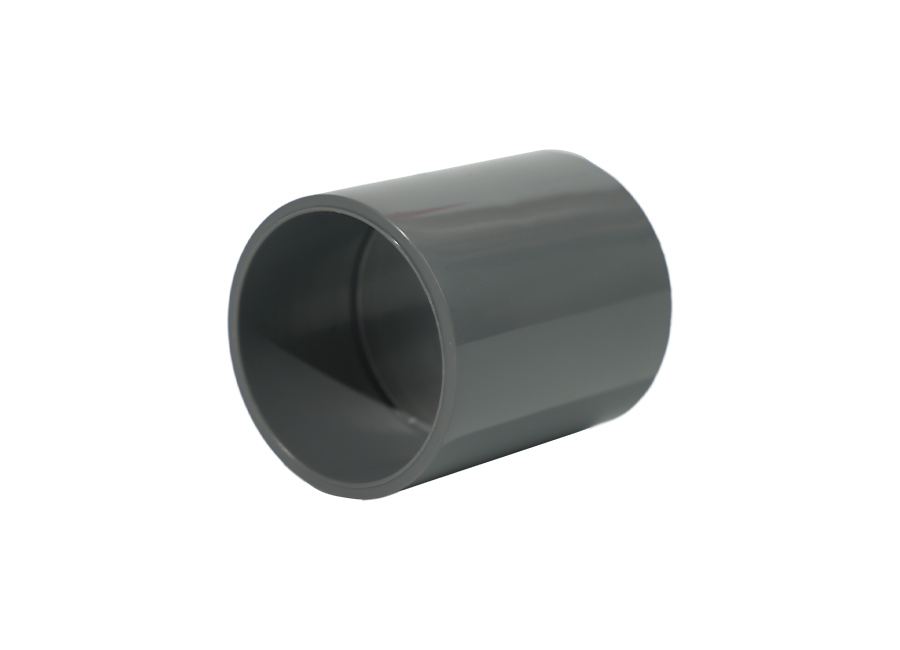 PVC-U Couplings for Water Supply and DrainagePVC-U couplings in multiple diameters and pressure ratings help form sealed, stable joints for buried water, irrigation and drainage lines.View Product →
Trench, bedding and backfill
Underground is where PVC installation budgets are really won or lost, because the pipe is only as good as the soil around it. The trench does three jobs: it lets you compact beside the pipe, it spreads load evenly along the barrel, and it keeps point loads off the wall.
A practical sequence, consistent with ASTM D2321 practice:
- Trench width — pipe outside diameter plus 300 to 400 mm, so a compaction tool can work on both sides of the barrel.
- Bedding — about 100 mm of sand, fine gravel or crushed stone, with a maximum particle size that cannot dent the pipe.
- Haunching — fill and compact under the pipe's springline so the barrel is fully supported rather than resting on the crown of the bedding.
- Initial backfill — placed to 300 mm above the pipe crown, compacted in 150 to 200 mm lifts.
- Final backfill — native material, free of sharp rock, placed in lifts while the pipe is held at design line and grade.
Gravity lines are judged by deflection, not only by leaks. The usual acceptance limit is 5 percent of the inside diameter, checked with a mandrel after backfill is complete.
Above-ground runs: expansion, support and UV
PVC moves roughly ten times less than HDPE with temperature change, but it still moves, and exposed runs have no soil to restrain them.
At 0.6 mm per metre per 10 degrees Celsius, a 20 m exposed PVC-U run that swings 25 degrees between a cold night and a hot afternoon grows by about 30 mm. That is more than enough to shear a rigidly anchored small-bore joint. The standard fix is simple: anchor at the centre of the run, allow guided movement toward the ends, or build a properly sized expansion loop.
Support spacing follows the manufacturer's published table for the specific diameter and temperature. Two points are non-negotiable. Do not hang the pipe from one over-tight clamp per span, and do not leave UV-exposed PVC unpainted in strong sunlight, because unmodified PVC chalks and embrittles under prolonged ultraviolet exposure. That is precisely why outdoor lines are usually painted or specified in a UV-stabilised grade.
Testing and handover
Pressure lines: fill slowly, vent trapped air, and hold the test at 1.5 times the maximum working pressure for one hour, or at whatever value the specification states. A joint that weeps during the test was very often assembled the same day, so check the cure schedule before assuming a fitting is defective.
Gravity lines: verify line and grade first, then deflection. Water-tightness acceptance on sanitary sewers usually follows either a low-pressure air test or an exfiltration method, with the results recorded against the installed length.
The mistakes that cost the most
- Testing before curing. By a wide margin the most common cause of a failed first pressure test.
- No bevel. The pipe scrapes cement off the socket wall on the way in, leaving a starved joint.
- Cement on one surface only. This produces a joint that holds on the day of installation and weeps within a year.
- Haunches that are never compacted. The pipe ends up supported at the crown instead of along the barrel.
- Backfill dumped in a single pass. Machine buckets dent and crack pipe that a 100 mm lift would not have touched.
- Mixing cement, primer and fittings outside their tested combinations. The chemistry matters more than the label size.
Nearly all of these come down to procedure rather than product. Where a project needs pipe and fittings from one qualified source, the PVC-U, PVC-M and PVC-O ranges from 20 mm to 1600 mm with matching UPVC fittings are listed at Huada Plastics.
Frequently asked questions about PVC pipe installation
Q1. How deep should PVC pipe be buried?
Depth is set by the frost line, traffic loading and local code, not by the pipe itself. Water mains are commonly buried below local frost depth, with 600 mm a typical minimum in mild climates and 1.2 m or more in cold regions, while sewer lines follow the design invert. What matters more than one number is that bedding and the first 300 mm of backfill are placed and compacted correctly.
Q2. How long before I can pressure test a PVC joint?
For common domestic sizes, solvent-cemented joints are usually ready for testing after 2 to 6 hours at 16 to 38 degrees Celsius, and up to 24 hours for diameters of 4 inches and above. Cold, damp weather extends this. The cement manufacturer's cure chart governs, and testing early is the single most common cause of a failed first test.
Q3. Can PVC pipe be used for hot water?
No. Standard PVC-U is limited to cold water and drainage service, and its pressure rating falls sharply above 30 degrees Celsius. CPVC or PPR are the usual choices for domestic hot water lines, and PVC should never be used for compressed air.
Q4. Does PVC pipe expand and contract?
Yes, at roughly 0.6 mm per metre for every 10 degrees Celsius of change, which is far less than HDPE but still enough to matter. On long exposed runs, anchor the middle, allow the ends to move, or install an expansion loop.
Q5. How long does a PVC pipe installation last?
Buried PVC drainage and water lines are commonly designed for 50 years of service, and pressure-rated pipe is normally rated on the same basis. Real service life depends far more on installation quality, bedding and the chemical and temperature environment than on the pipe wall alone.
Q6. Can PVC pipe be installed in cold weather?
It can, with precautions. PVC becomes brittle below about 5 degrees Celsius, so impacts during handling cause cracks that stay invisible until the line is pressurised. Cut and assemble under cover where possible, keep cement and primer above 5 degrees Celsius, avoid dropping pipes, and consider an impact-modified grade for winter work.