English
 中文简体
 русский
 عربى
A joint that drips the morning after a repair usually fails for a boring reason: the pipe was cut slightly out of square, the socket was only half-cemented, or the line was pressurized before the solvent had cured. PVC plumbing is not complicated, but it is unforgiving of skipped steps. The reliable sequence is: confirm the pipe family and pressure rating, cut square, deburr and bevel, dry-fit and mark, prime and cement both surfaces, assemble with a quarter turn, hold, wipe, and cure before testing. The details below assume pressure service; drainage work uses the same preparation but lower pressure-test demands.
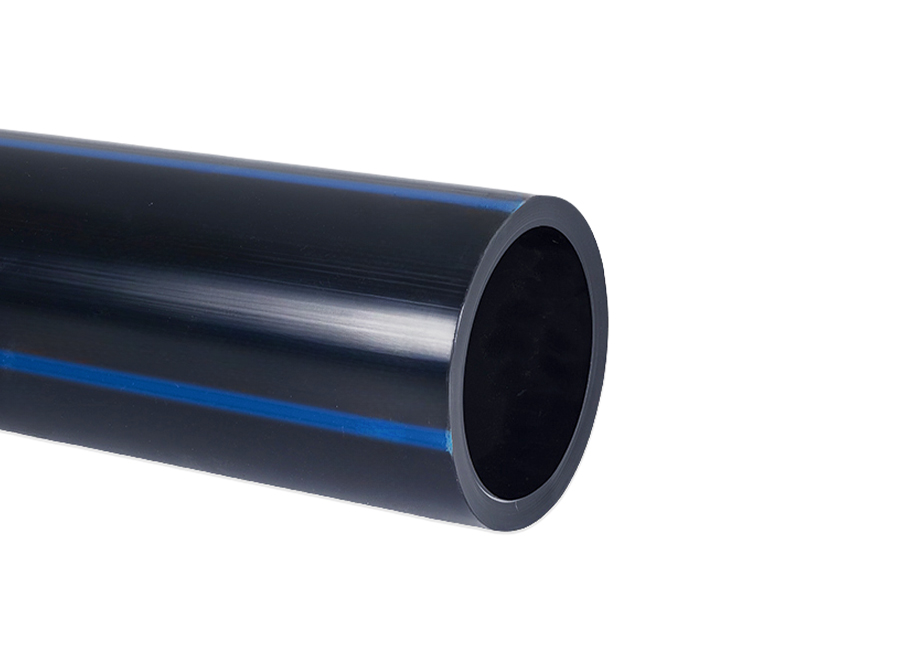
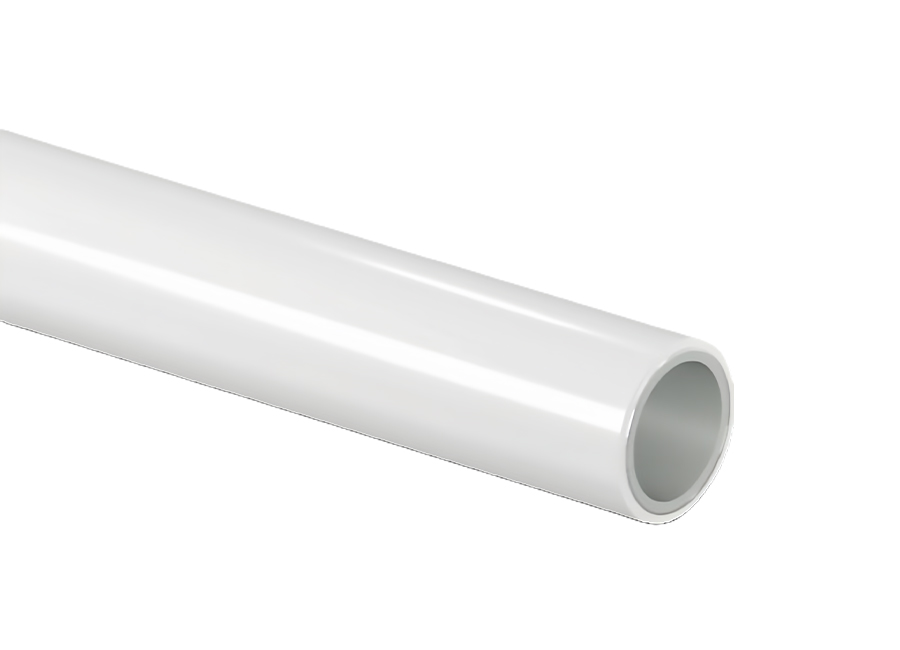
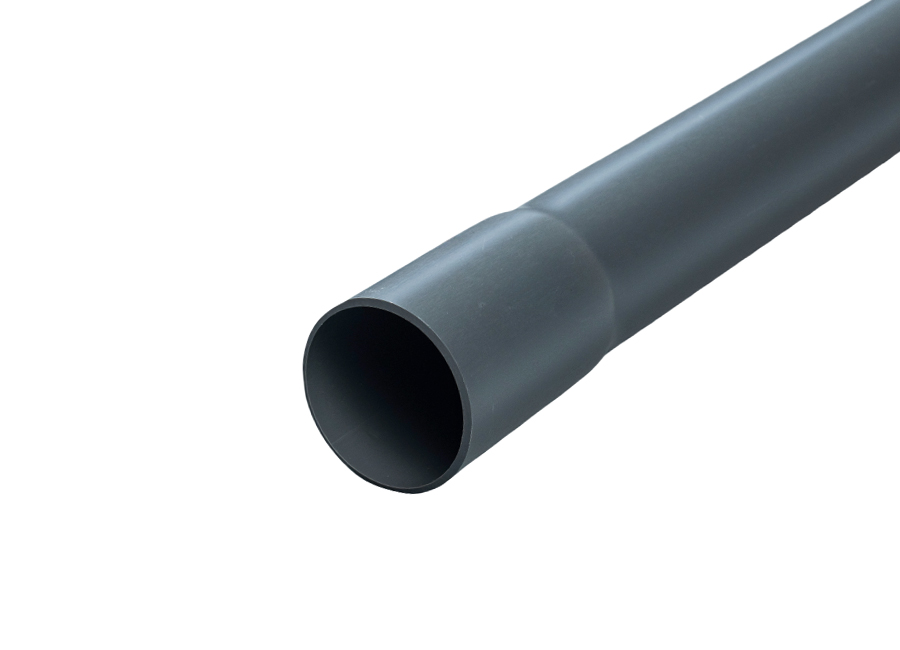 PVC-U Pressure Pipe for Water and Industrial LinesRigid PVC-U pipe with multiple pressure ratings and solvent-cement or flange connections; check pipe family and rating before cutting and jointing.View Product →
Content
- 1 Confirm the pipe family, schedule, and joint method first
- 2 Cut square, deburr, bevel, and dry-fit
- 3 Solvent welding: prime both surfaces, cement both surfaces
- 4 Cure before pressure testing
- 5 Plan turns, branches, and transitions before cementing
- 6 Common mistakes that turn a small leak into a rework
- 7 PVC plumbing FAQs
- 7.1 Q1. How do you join PVC pipe without leaks?
- 7.2 Q2. What is the best glue for PVC plumbing?
- 7.3 Q3. How long should PVC pipe cure before pressure testing?
- 7.4 Q4. Can PVC pipe be used for hot water?
- 7.5 Q5. What is the difference between Schedule 40 and Schedule 80 PVC?
- 7.6 Q6. How do you connect PVC to metal pipe?
Confirm the pipe family, schedule, and joint method first
Not every white pipe is interchangeable. PVC-U, or unplasticized PVC, is common for cold-water, drainage, and some industrial lines. CPVC is a chlorinated material used where higher temperatures are expected. Schedule 40 and Schedule 80 refer to wall thickness, not a guarantee of the same pressure rating at every diameter. Before cutting, read the print line: material, nominal size, schedule or SDR, and pressure rating. If the line is hot water, do not assume PVC-U will do the job. Check the fitting system as well: solvent-weld PVC uses primer and cement; threaded PVC needs thread sealant and more support; transition to metal needs a suitable adapter.
| Service | Pipe or fitting check | Why it matters |
|---|---|---|
| Cold potable water | PVC-U rated for potable water; confirm local approval | Not all industrial PVC compounds are listed for potable use. |
| Drainage, waste, vent | PVC-U drainage fittings; check slope and venting | Pressure rating is not the controlling issue; drainage geometry is. |
| Hot or warm water | CPVC or another temperature-rated system, not standard PVC-U | Standard PVC softens and loses strength as temperature rises. |
| Transition to metal | Correct transition fitting and compatible sealant | Direct threading or mismatched materials can leak or crack. |
For a cold-water line, Huada's PVC-U pipe range covers sizes from 20 mm upward, with the exact pressure class depending on diameter and wall thickness. Confirm the duty point before ordering, especially if the line will operate above normal ambient temperature.
Cut square, deburr, bevel, and dry-fit
A square cut gives the solvent cement a uniform gap to fill. Use a fine-tooth saw, a plastic pipe cutter, or a powered saw with a guide; mark the length with a wrap-around or a square. After cutting, remove burrs from the inside and outside. On pressure pipe, especially 2 in and larger, a 10–15 degree bevel on the outside edge helps the pipe enter the socket without scraping cement away. Chamfering is not a substitute for deburring.
- Measure twice and mark the insertion depth on the pipe using the fitting's socket depth.
- Cut square and inspect the end; reject cuts that are visibly angled or crushed.
- Deburr inside and out, then bevel the outer edge on pressure lines.
- Dry-fit the parts, check alignment, and mark the pipe at the socket lip.
- Clean the surfaces; keep dirt and moisture out of the joint.
Dry-fitting is a check, not a rehearsal with cement. If the pipe will not enter the socket by hand, do not hammer it. A distorted fitting or an oval pipe will not be saved by more cement. For large pipe, use two people and support the parts so the joint is not carrying the weight. A more detailed field guide to selecting and installing PVC pipes covers handling and support.
Solvent welding: prime both surfaces, cement both surfaces
Solvent cement is not glue in the household sense. Primer prepares the PVC surface; cement softens it; the joint fuses as the solvent evaporates. Two-step PVC solvent welding requires primer and cement. Apply primer to the pipe end and the inside of the fitting, then apply cement to both surfaces while the primer is still wet. Use a natural-bristle brush sized to the pipe. A thin, even coat is better than a thick puddle. On larger sizes, apply a second coat to the fitting if the cement looks dry.
Insert the pipe fully to the marked depth, then give it a quarter turn. Hold for about 30 seconds, or until the joint grabs, and wipe the excess cement around the lip. Do not twist back and forth. Do not use a hammer. Do not pressure-test immediately. Work in a ventilated area, wear gloves and eye protection, and keep solvent cement away from ignition sources.
A useful way to judge a finished joint is to look at the cement bead. A continuous bead around the socket lip is normal; a dry or gapped area suggests not enough cement or a poor fit. The cutaway below shows what the joint is trying to achieve: pipe wall, cement layer, and fitting socket in full contact.
Cure before pressure testing
The joint may look set in minutes, but the solvent needs time to leave the joint. Pressure testing too early can push a soft joint apart or create a pinhole leak. The chart below uses typical minimum cure times before pressure testing for solvent-cemented PVC at 60–100°F (15–38°C). Cold weather, high humidity, large diameters, and heavy cement application all extend the wait. Follow the cement manufacturer's schedule and the project specification when they are stricter.
For a small repair, a common mistake is to test at full line pressure after 15 minutes because the joint feels hard. The surface may be hard while the interface is still weak. If the line can be isolated, fill slowly, bleed air, and watch the joint for the first 15 minutes. For larger pipe, follow the cure schedule and do not use the test to "seat" a fitting.
Plan turns, branches, and transitions before cementing
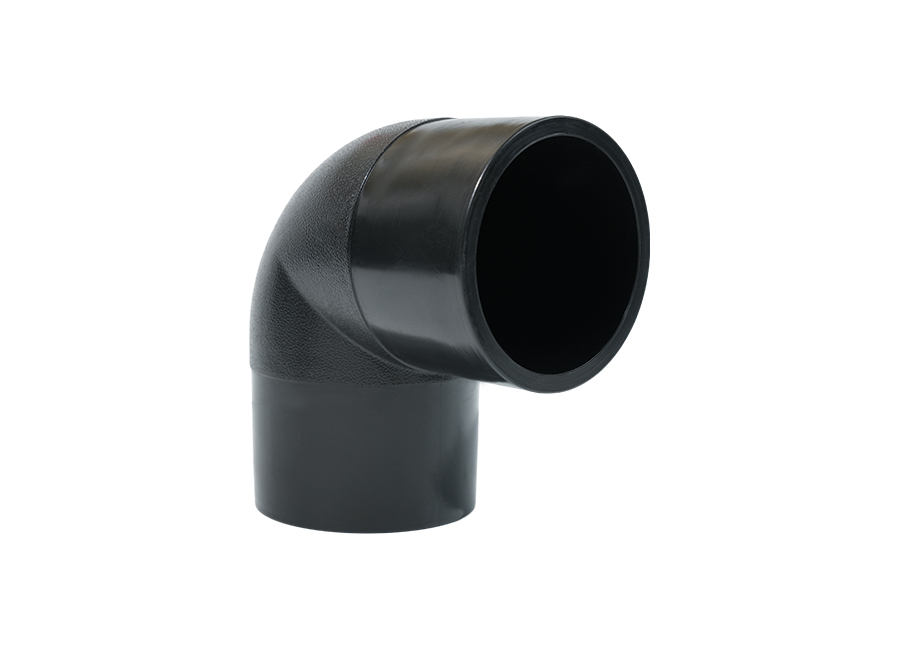
Every fitting adds friction loss and a possible leak point. Use the fewest fittings that still allow proper support and access. For a 90-degree change, two 45-degree elbows often give a gentler flow path than one tight 90-degree elbow, but they take more space and create two joints. A sweep 90 or a long-radius fitting can also reduce pressure loss. Choose based on space, pressure, and the cost of future maintenance, not habit.
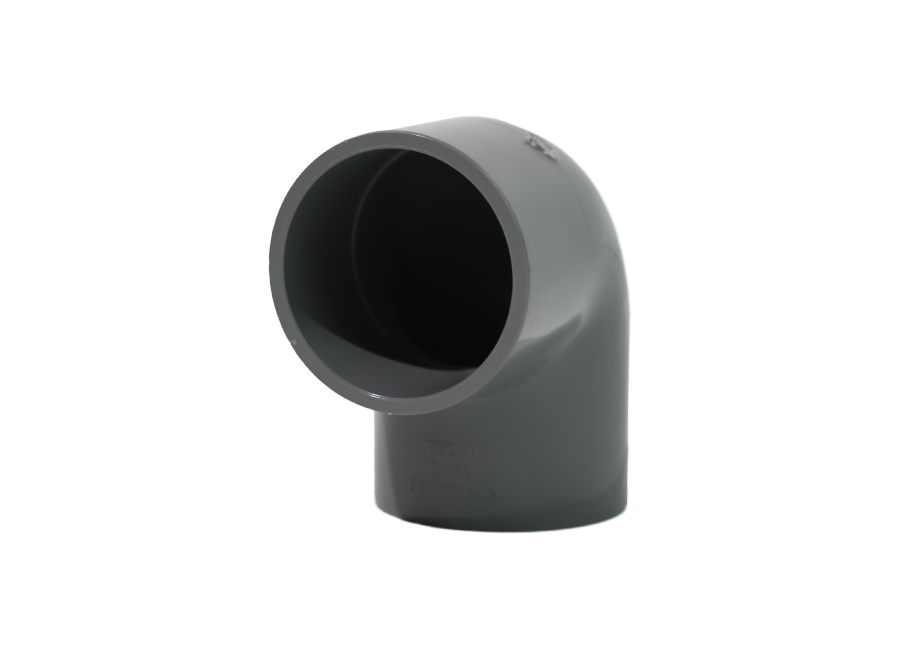 PVC 90 Degree ElbowThis PVC 90-degree elbow is made from PVC-U material, ensuring the purity and high quality of the product. The PVC material has wonderful corrosion resistance and wear...View Product →
Branches need support on both sides of the tee. A tee should not be used as a pipe hanger. Keep the branch square to the main line, and dry-fit the whole assembly before cementing anything. If the branch feeds a fixture, check the fixture's required flow and the local code before reducing the size.
 PVC-U Tee Fitting for Branching and Flow DiversionPVC-U tee for branching water, irrigation and drainage lines, available in equal sizes to 400 mm with solvent-cement, socket or flange connections.View Product →
Transitions are where many PVC plumbing jobs fail. Threaded PVC adapters need a compatible thread sealant and should not be over-tightened; a cracked female thread is common when a metal nipple is forced. For PVC-to-metal transitions, use a transition fitting rated for the application and support the heavier metal side independently. Leave room for expansion and contraction on long runs, and do not clamp a pipe so tightly that it cannot move.
Cold weather makes PVC more brittle. If the work is below the cement manufacturer's recommended temperature, do not simply use more cement; the joint may not fuse properly. Keep impacts away from the pipe, follow cold-weather handling instructions, and give the joint more cure time when the conditions are marginal.
Common mistakes that turn a small leak into a rework
- Cutting out of square and hiding it with extra cement.
- Skipping primer on PVC pressure joints.
- Applying cement to only one surface.
- Forcing an oval pipe or distorted fitting into place.
- Pressure-testing before the recommended cure time.
- Using PVC-U cement on CPVC, or the wrong cement for the pipe family.
- Over-tightening threaded plastic fittings.
- Leaving long runs without expansion allowance or proper support.
A failed joint is cheaper to cut out and rebuild than to patch with sealant. If a joint weeps at the socket lip, do not smear cement over the leak. Isolate the line, drain it, cut back to sound pipe, and remake the connection with a new fitting. The same rule applies to a fitting that has been heated or distorted: replace it.
PVC plumbing FAQs
Q1. How do you join PVC pipe without leaks?
Cut square, deburr, dry-fit, prime and cement both surfaces, insert fully, quarter-turn, hold, and cure before testing. Leaks usually come from poor fit or too little cement.
Q2. What is the best glue for PVC plumbing?
Use a PVC solvent cement rated for the pipe size, pressure, and application, plus the correct primer. CPVC needs CPVC cement, not standard PVC cement.
Q3. How long should PVC pipe cure before pressure testing?
It depends on diameter, temperature, humidity, and cement. Typical minimums range from 15 minutes for small sizes to 16 hours for 12-inch pipe; follow the manufacturer's schedule.
Q4. Can PVC pipe be used for hot water?
Standard PVC-U is not for hot-water service. CPVC or another temperature-rated material is used where hot water is expected. Check the pipe print line and local code.
Q5. What is the difference between Schedule 40 and Schedule 80 PVC?
Both are wall-thickness schedules. Schedule 80 has thicker walls and usually a higher pressure rating for the same diameter, but ratings still depend on size, temperature, and standard.
Q6. How do you connect PVC to metal pipe?
Use a suitable transition fitting, compatible sealant, and independent support for the metal side. Avoid forcing threaded plastic fittings, which can crack.